Find a Clear Focal Point
I usually find that my compositions work best when there is a clear focal point in the scene. For example, if I'm out photographing fall color, I try to find a bridge or a barn to be a clear focal point and then use the trees in fall color in the background. The bridge or barn anchors the composition and gives the viewer a clear focal point.
Use the Weather As Your Subject
Weather and landscape photography are inextricably tied. Landscape photography is so saturated with other photographers that we have seen the typical sunset images countless times.
However, photographing an area in extreme or interesting weather can create a captivating image. Why? Because it's different and unique!
Find interesting landscape photography locations near your home and watch the weather forecast. Next time there's a lightning storm, get out and shoot (with caution)! When there is fog in the valley, drive up in the mountains and see if you can create a sunrise shot of the fog BELOW you and the sun rising over it. Learn how to predict extreme weather and find ways to use it in your landscapes.
Maximize Your Depth of Field with Focus Stacking
Generally, landscape photographers try to get as much of the scene in sharp focus as possible–whereas portrait photographers often want a blurry background. Sometimes, getting a good sharpness throughout the scene is as simple as opening up the aperture to f/16.
However, more advanced landscape photographers may find an additional degree of sharpness by focus stacking. Focus stacking is where you shoot on a tripod and take several pictures focused at differences away from you. Then, you use Photoshop to take just the sharpest part of each picture and create a final image with incredible sharpness throughout.
There's No Substitute for Interesting Light
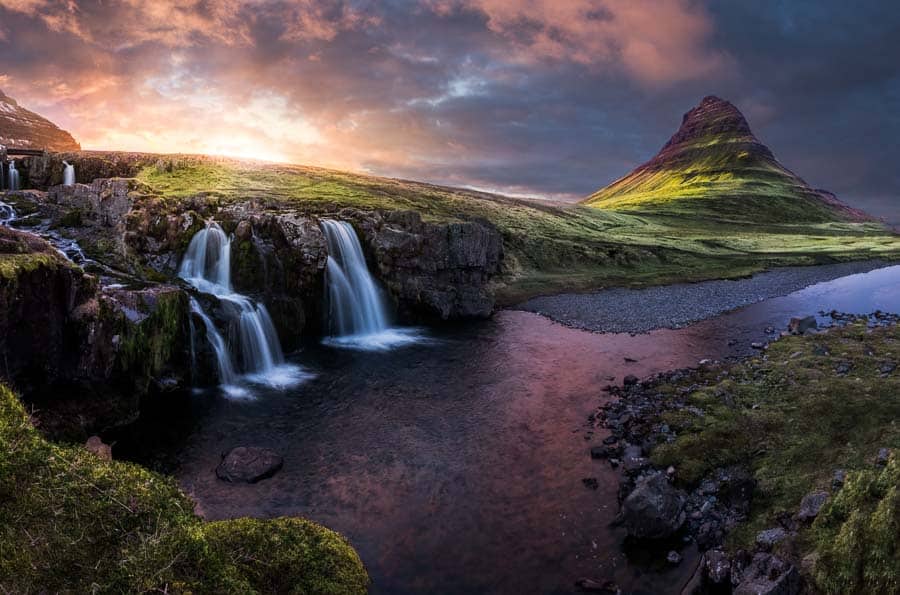
This article has a lot of tips in it, but be sure not to lose the forest for the trees. If your photo doesn't have interesting lighting and a solid composition, it probably won't work. Sometimes I get too distracted by new techniques and forget my fundamentals.
To me, “good light” for a landscape just means lighting which is different from the typical daylight that we always see. Photograph sunrise or sunset, in the middle of the night with stars, early morning on a cold day with fog, etc. Shoot when the light is DIFFERENT and you'll probably see better success.

Return to the Same Landscape at Night
Often I return to photography locations that I like multiple times. The goal is not to reinvent my old photos, but to see the landscape in different lighting conditions. There have been a number of locations I've photographed where the light was interesting during the day, but which turned out stunningly beautiful at night.
If you photograph a location that is gorgeous, but the photo just doesn't quite have the “mood” that you want, try returning at night and seeing if the character of the place feels different under a starry sky.
Crouch for Success
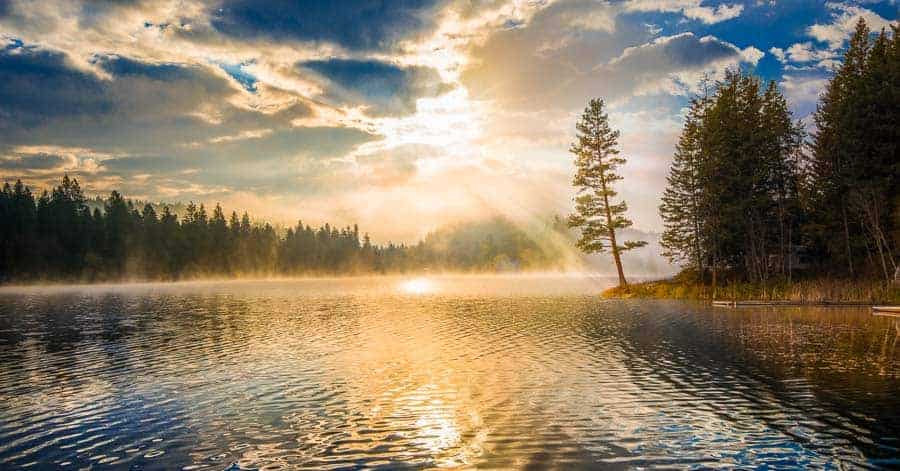
It's rare that I take a landscape photo from standing height. There are certainly times when it works just fine, but most of the time I find myself at a crouching height because it shows the landscape in a more interesting way.
There is no one height that always works for a landscape, but experiment with different heights on a landscape and you'll likely see that it can dramatically change how the scene looks.
Use Block Method Compositions
Most photographers never progress past the rule of thirds. The rule of thirds is helpful for creating compositions, but it also can lead to some lazy habits and predictable/boring compositions.
Over the last couple years, I've been using something that I call The Block Method of Composition, and it has completely changed my approach to composition. Basically, the idea is that you look at all of the elements in the scene and stand in a place where they all work together to create one overall shape, or work to do the same thing.
I explain the entire block method in a video training available in the Improve Photography Store. I've received a lot of positive feedback on it. Check it out.
Don't Be Afraid to Replace a Sky
You can't control nature. Sometimes, despite your best efforts, the sky just doesn't cooperate with your photo shoot and is left blank and boring. There are ways you can minimize this by making it a smaller part of the landscape, or shooting for more of a minimalist composition; however, sometimes I find it liberating to simply replace the sky with another sky I'd photographed on another day.
This isn't for everyone. Each of us have a different approach to art and that's perfectly fine. For me personally, I love the feeling of CREATING a landscape by compositing images together. If that's not for you, it's more than okay. However, if this is something that interests you, I might steer you over toward our very inexpensive Sky Replacement Bundle which is a series of short videos on how to do it and also you get a library of RAW files of skies that you can use on your images without any copyright limitations. You don't need any experience to follow the tutorial–the step-by-step videos will show you exactly how to do it.
Foregrounds Are Everything
In my photography work, it's rare that I capture a 5-star landscape photography image that doesn't include a prominent foreground area close to the camera. Most beginning landscape photographers shoot at standing height and aim their lenses out into the distance so the foreground area is small.
Most beginning landscape photographers shoot at standing height and aim their lenses out into the distance so the foreground area is small. Most landscape photographers with more experience set up their compositions to include a rock, the beach, a little plant, or something else in the foreground.
However, I am learning to utilize long lenses for landscape photography as well. Photographers such as Michael Frye have become well known for taking “foregroundless” long lens photos which are absolutely stunning. However, most of the time, I still find the best success by shooting landscapes with strong foregrounds.
Try Light Painting
Light painting is a simple way to add a lot of character and uniqueness to a landscape. For the beginners, light painting means going to a place at night and shining a flashlight all over the landscape to create interesting lighting.
Light painting does take some practice, but I recorded a free tutorial on light painting on my Youtube Channel, which you may find helpful. Check it out below and be sure to subscribe using the button below.
Dress for Success
I recently published a post here on Improve Photography about what I wear for landscape photography. Obviously, an expensive raincoat isn't going to improve your image quality, but quality outdoor clothing (much of which is very inexpensive) may help you to stick it out in nasty weather, which can help you make great images.
Show Nature's Movement
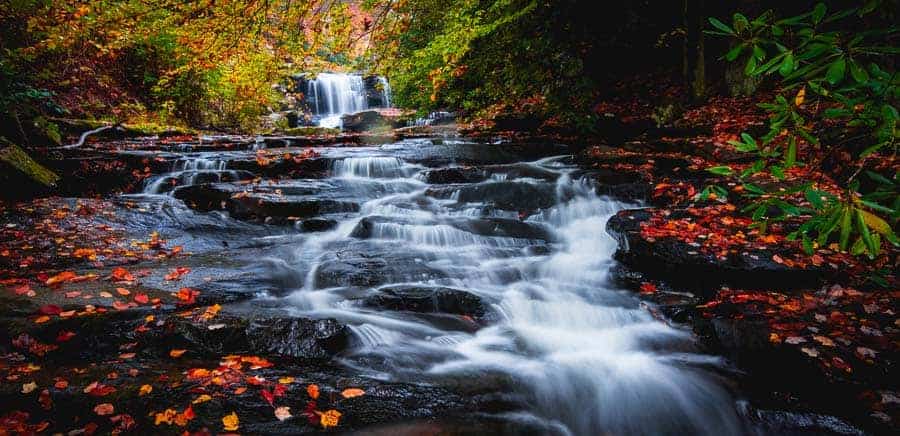
Some of the most captivating landscape photography images I've seen show the movement of nature. The classic example of this is a long exposure of a silky smooth waterfall, but the application for this tip extends far beyond waterfalls. You could shoot with a slightly longer exposure as trees sway and show the blur in the leaves; you could streak out the movement of the stars in the night sky; you could shoot a slower exposure of rain drops, etc.
Use a Drone
The cost of drones has fallen precipitously over the last few years. You can now buy a DJI Phantom 3 Standard for under $500 with a built-in ultra-HD camera.
There are countless landscape photography locations around the world that are only now being found and photographed because we can put drones in places where otherwise it's impossible to put a camera (unless you're good at flying…). Drone photography is taking the industry by storm and in my opinion, should not be ignored by any serious landscape photographer.
I now use the DJI Phantom 4 Professional in a lot of my photography work, and I've been blown away by the results.
Buy a Stool
This tip might sound lame at first, but let me explain. Sometimes I get impatient and don't want to wait out in the cold in the middle of nowhere for the light to get good. Bringing a little camp chair with me when I go out to do landscape photography can help me to relax and wait to get the shot with optimal lighting conditions.
You can get an ultralight hiking chair like this one on Amazon for just a few dollars, which may make waiting for the light to develop a lot more tolerable.
Take One Image with Your Phone for GPS Data
Landscape photography is about making art out of the beautiful places around the world. Unfortunately, few camera manufacturers include built-in GPS functionality in their cameras. This means that after you photograph a location, you may forget where it is years down the road.
As I look back at many of my images from years ago, there are a number of locations that I would LOVE to revisit, but I can't remember what backcountry road I was on when I took the photo.
Fortunately, there are some solutions for getting the GPS coordinates from a location and geotagging your photos with that information even if it's not built in your camera. But a simple solution is to shoot with your DSLR, and then take one shot with your cell phone before you leave. Most cell phones (including all iPhones) record the GPS information in the photo, which you can easily see using Lightroom if you want to go back years later.
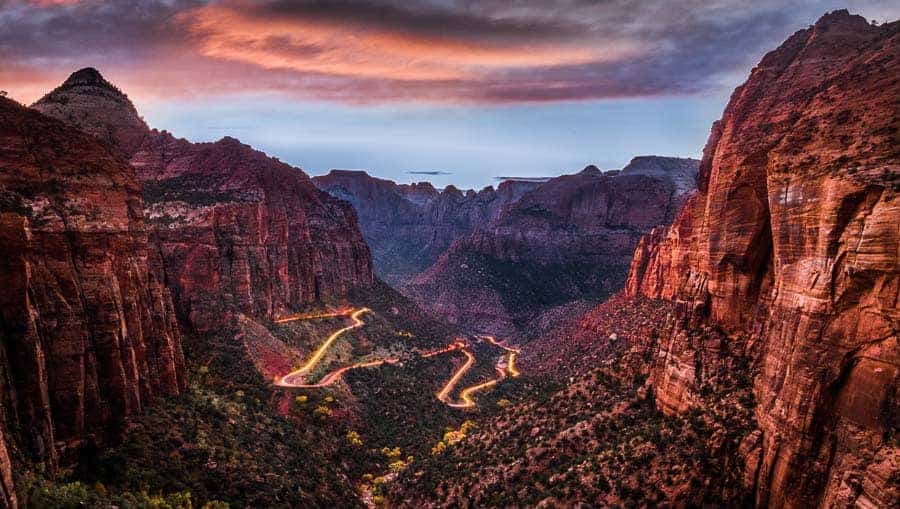
Watch for Interesting Bends in the Road
As you drive around in the wilderness taking landscapes, pay attention to the bends in the road. I've found a number of really cool landscape photography locations by photographing a wide landscape and including the light trails of taillights from cars driving down the roads in the scene.
Learn More Advanced Post-Processing Techniques
It's always fun when you capture a photo in-camera that needs little or no post-processing to look its best. However, today's cameras are designed to maximize dynamic range in a way which can make the RAW files look bland.
I often find that taking a good photo (not a bad one) into Photoshop and just doing some simple dodging and burning can make a tremendous difference. Nick created an amazing tutorial video on some advanced landscape photography techniques that I highly encourage everyone to check out. The work he's producing with those techniques is really stunning.
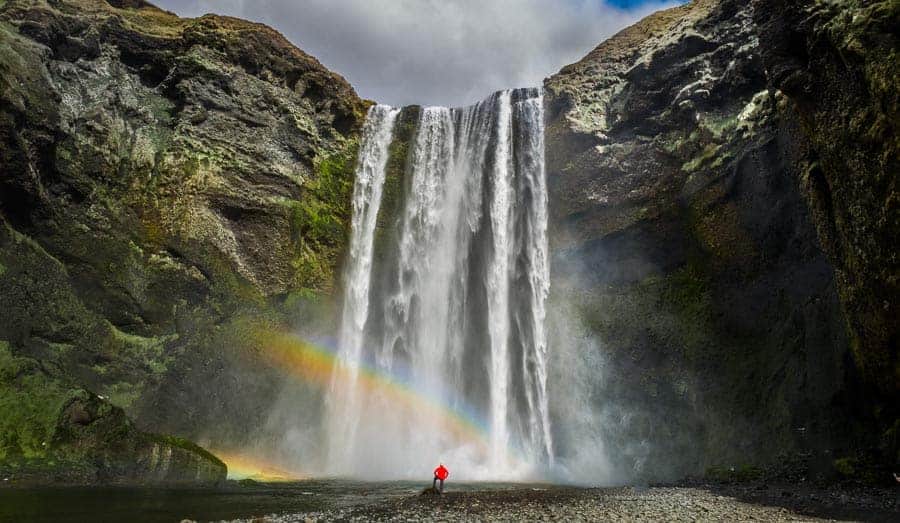
Give a Sense of Scale
Sometimes the magnitude of a location is the most impressive thing about it. You can easily convey that impression by including something or someone in the landscape that the viewer knows the size of. When you do that, it's immediately clear to the viewer how large the landscape is.
Right now there's a strong trend in landscape photography to create “selfies” of an epic person standing in a landscape facing away from the camera. While I personally find it a little overdone, it's very effective at showing scale.
When in Doubt, Shoot Wider and Scoot Closer
Sometimes I feel like I'm floundering around when I'm searching for the right composition. I usually start shooting every scene with my cell phone. I'll spend a while walking around making snapshots and just looking at the composition. I use the cell phone just for speed so I don't have to set up a tripod everywhere. Then, once I find a composition that works, I bring out the big gun camera, tripod, and make my shot.
But sometimes things just don't seem to be working. I just can't figure out the composition. When that happens, I usually find that the answer is to zoom out a bit wider, and scoot in VERY close to a foreground element. It almost always works.
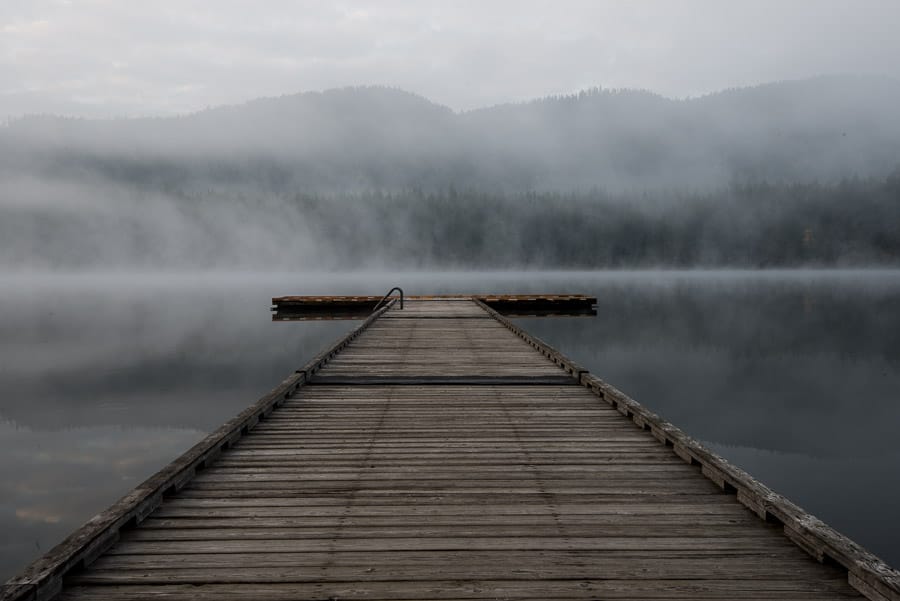
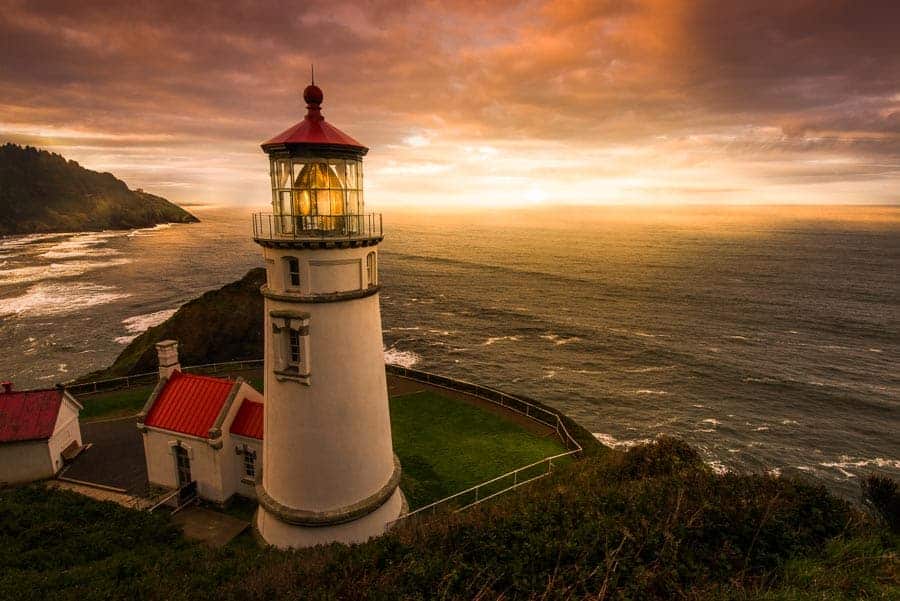
Set Yourself Up with a “Winner” Location
I love to explore new photography locations and encourage others to do the same. However, there's also something to be said–especially for photographers who are lacking a bit of motivation or confidence–to choose a photo spot that will set themselves up for success.
For example, it's tough to drive around all day on old dirt roads looking at beautiful fall color in the trees and trying to find a composition that feels JUST right. More often than not, I get it wrong. That's good learning experience, but it also can get you demotivated if you aren't seeing success regularly. I would encourage anyone who needs a “win” to look for the type of location that tees it up for them.
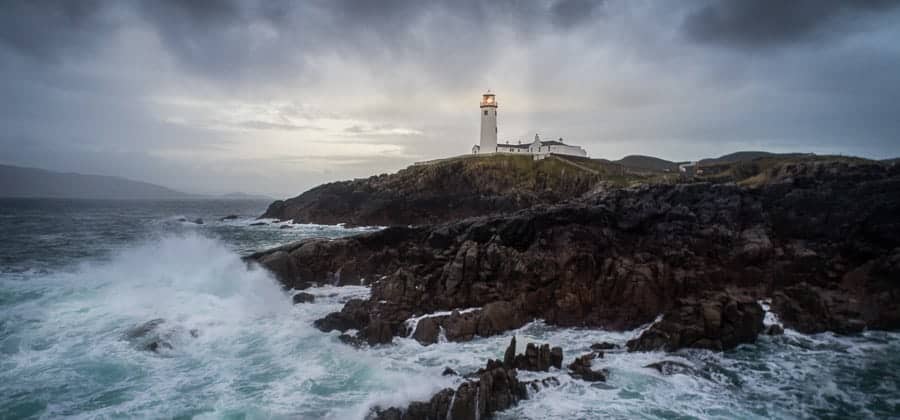
Find a waterfall which offers a simple composition, or a lighthouse, or a dock leading out into a lake. Shoot from a skyscraper onto the city below, etc. Find a composition that you won't mess up to give yourself a little confidence to take on more challenging compositions later.
Take Time to Appreciate What Nature Made
There are times when I'm out taking photos in nature when suddenly the magnificence of a location overwhelms me. When you see a bolt of lightning and hear the roar of nature, the wonder of the northern lights, the grace of a stream–it's awe inspiring. Take time to fall in love with the landscape as you're behind the camera.
Eventually, every photographer gets tired of looking at the same old photos in their portfolio, but you'll never get tired of remembering what that location felt like when you were there photographing it–and that never seems to get old.

Wait always enjoy your articles. Thank you
Great information, really appreciate your sharing.
Bill Spaman
I am learning now that I have a Wide Zoom that Wider and Closer is KEY!
Great work of exploration nd expedition my assessment is that you have done very well in given us wider information on landscape photograph
Very nice post, had a great time. Thanks for sharing
Amazing tips, Jim.
I’m going to Europe next month for an assignment, and your tips are definitely going to help. Just one question, are the wide angle and kit lens enough for landscape photography or do I need to upgrade?