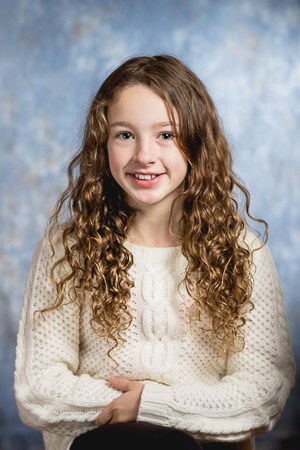
Perfect weather during the golden hour is great for outdoor portraits, however, it is not always practical. The time will come when you are forced to do portraits inside and you might not have any idea where to start. What are you supposed to do if you don't have any professional backdrops? This article will show you that you don't need professional backdrops to have a successful portrait session indoors. Here is a list of 10 creative DIY portrait photography backdrops you can do right in your own home, at little to no cost. When the time comes that you have to bring your portraits indoors, be prepared to give your clients a unique experience.
If you have solid color sheets or professional backdrops, you might think that you don’t need anything else. Yes, you can have a successful portrait shoot and clean look with limited materials, such as a backdrop. However, be different and challenge yourself with these creative ideas and make your portraits one of a kind!
*1-3 speedlights costing around $70 each, which you can find here, were used for all of the lighting techniques described in this article .
1. Blackout Anywhere Technique – FREE
What you need
- 1 speedlight
Instructions
One of the easiest ways to create a black background anywhere is using a speedlight at its highest flash power. You can read all about this technique here (found under Third Free Option).
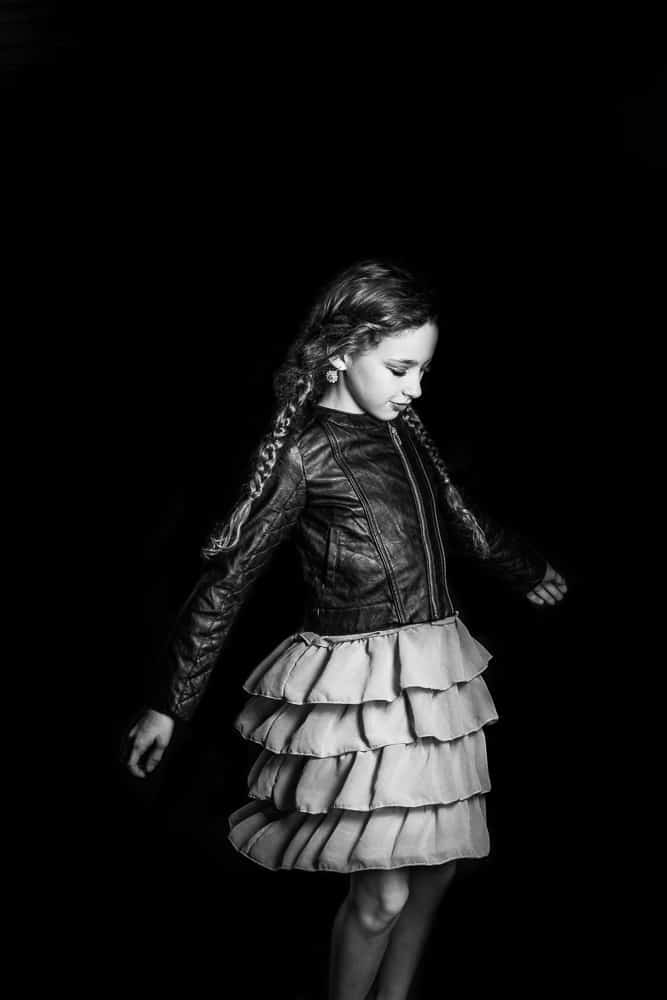
Setting the scene
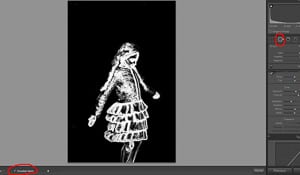
The article above gives a great run down on how to do this technique. Make sure you have enough space to keep your subject far away from the background. Here are a few post processing tips to help you clean up your black background in Lightroom: first, decrease your blacks and shadows to make sure that background is really black; next, using your spot removal tool, check the option to “visualize spots” (found underneath your picture). This option will show you all of the spots that you can use the spot removal tool to remove, to ensure you have a nice clean black background.
2. Hole in Reflector $11.99
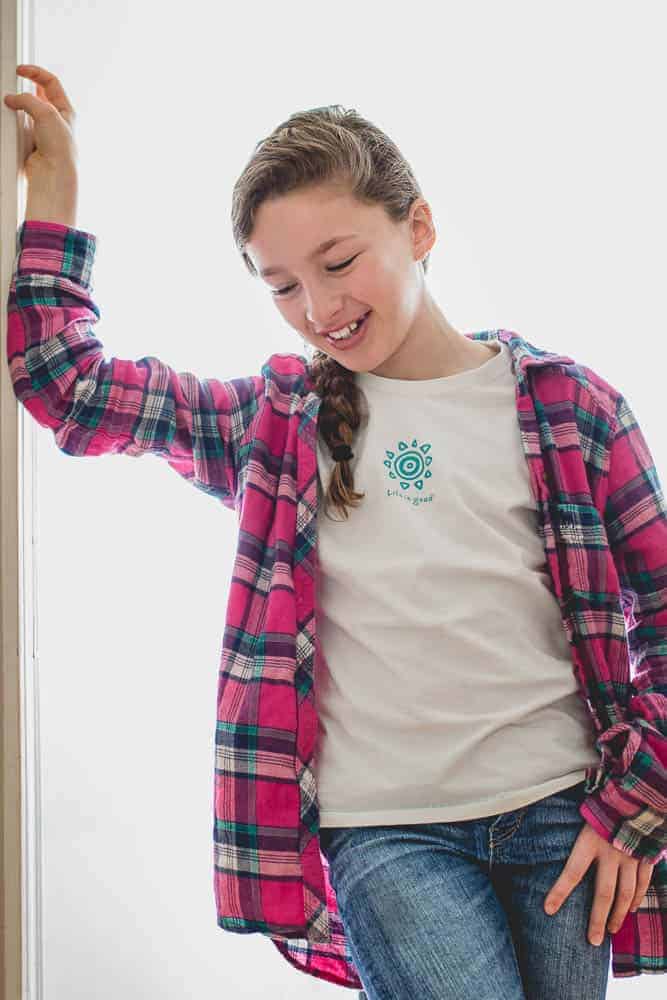
The prior article mentioned above also discusses using the white or black side of a reflector, or in the alternative, try a solid color sheet or table cloth. Challenge yourself by stepping it up a notch with this awesome and simple technique. Using one speed light and a reflector, you can achieve this look anywhere.
What you need
- Silver reflector $11.99
Instructions
Cut a lens size hole in your reflector.
Setting the scene
Find a corner where two walls meet. Place one bare speedlight on a stand behind your model pointing at the wall. Place your model in front of the light stand and set the power of your flash strong enough to blow out the entire background. With the flash bouncing off of the wall making your subject nicely backlit, it will bounce off the reflector illuminating your subject's face beautifully. Hats off to the brilliant Nick Fancher, author of Studio Anywhere for the hole in reflector idea you can read more about here.
3. Shaped Bokeh $0 – $18.00
What you need
- Holiday lights $8.99 (or free if you have on hand)
- 1 piece black construction paper $1 – $8.38 (if you don’t have any on hand, run to a local dollar store to buy a small pack)
Instructions
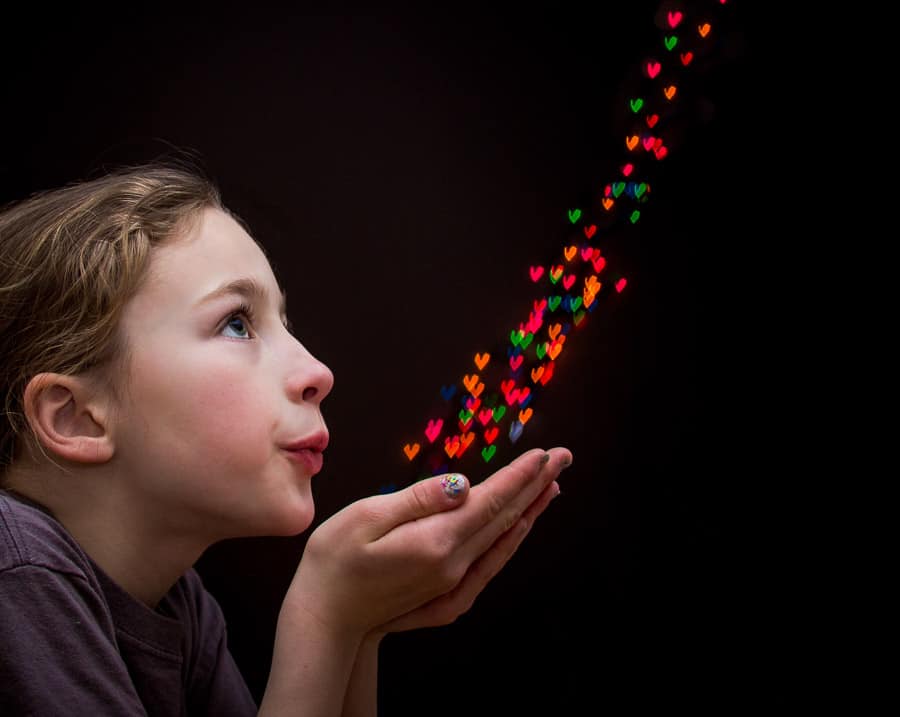
This is a really cool, and most likely a free, backdrop if you have these supplies on hand. All you need is black construction paper and a strand of holiday lights. With the black paper, cut a lens size circle. Then cut any shape in the middle of that circle. A heart is an easy shape to do free hand but won't look perfect. You can opt to buy shaped hole punches for perfect looking shapes, such as this (adding $5-10 to your cost).
Next, tape the circle over your lens. Keep in mind, you'll need to be able to move the focus ring which means you should try not to overlap the paper too much on the side of the lens.
Setting the scene
Tape lights up on a wall in the direction you want your shapes to go in your picture. The options are endless, get creative. Use a star hole punch and put star bokeh lights everywhere. Try butterflies flying up from the hand instead of hearts.
Next you will want to position your model far away from the wall. In the example picture above, the subject was about 15 feet from the wall. This will ensure a black background while making the lights a nice bokeh. Setup off camera lighting in a modifier to light your subject. This image used one shoot through umbrella camera right. Shoot with a wide aperture to get the lights to be blurry in the background. Finally, be sure to have fun with it!
4. Streamers $1.99 – $25.00
What you need
- Streamers (one color or several)
It is going to be much cheaper to go to a local store and find streamers for $1.99. You can buy one color or go crazy and buy every color.
Instructions
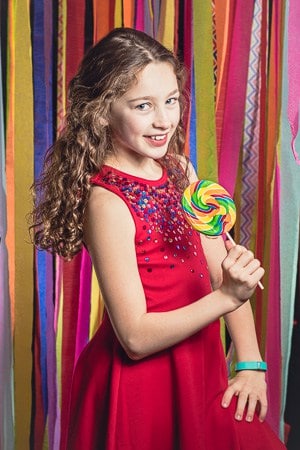
Tape streamers up on your ceiling. This example picture was 3 layered rows of streamers and took about one hour of taping to the ceiling.
Setting the scene
Light the background with one speedlight on the streamers. Light your model with one off camera flash and modifier, such as this clear shoot through umbrella used in this example.
Try adding some extra colorful props just for fun!
5. Floating Hearts $45.00
What you need
- Solid color sheet or backdrop $15.50
- Clear fishing wire $6.40
- Construction paper $8.38
- Heart hole punch $10.00
- Double sided tape $4.50

Instructions
Take your paper and begin hole punching to cut out hearts. Measure how long you want the hearts to hang from the ceiling. Then tape the fishing line to a table or on the floor and cut at desired length (taping the line down will keep the wires from getting tangled). Next lay your hearts along the fishing wire randomly and spaced as desired. After this step, put double sided tape on each heart and fishing wire. Top each heart with a second heart. You do not have to have the same color as the hearts may spin around when hung from the ceiling. Doubling the hearts not only is a better way to keep the hearts on the wire but if you fold the hearts away from each other it can add a little dimension as well.
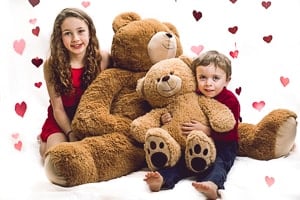
This final step is very important. Untape one strand at a time and bring to the area you are taking pictures and tape on the ceiling. Whatever you do, do NOT attempt to save time by taking all the strands at the same time. They will become a tangled mess and most likely you will have to throw them away and start the entire process all over again. When taping the hearts on the ceiling be sure to layer them. Tape the strands up so that they are in the background, middle and foreground.
Setting the scene
Find your space and choose a white or black backdrop. For this set up, a white sheet was used. One speedlight was on the backdrop to blow out the white and one speedlight on the subject in a clear shoot through umbrella, camera left.
6. Gels $10.29
A solid color wall and bouncing flash is a great option when in a pinch. Jazz it up by throwing on some gels for a more creative photograph.
Now take it to the next level. Play around with combining the gels. This can give your portrait a whole new, creative look. When the cyan, magenta and yellow colors overlap, white light is created. Isn’t color theory amazing?
What you need
- Colored gels for your flash $10.29
- Blank wall
Instructions
You will need to tape cyan, magenta and yellow onto 3 different speedlights (one color for each speedlight).
Setting the scene
Using light stands, if you have them, line your 3 speedlights next to each other pointing directly onto your subject at an angle. (If you don't have light stands, try stacking up some boxes or books until you are at the desired height.) The hard unmodified light at an angle will create the colorful shadows. The colors should meet and overlap where you want your subject to be lit with white light. Experiment with the location of the lights to get the look you are going for. The one and only Nick Fancher strikes again with more inspiring techniques. He talks about this technique in more detail here.

7. Silhouette FREE
Try something different and silhouette your subject in a bright window.

What you need
- Big window
Instructions
Find a window and pose your model. Easy enough, right?
Setting the Scene
Expose for the background so that your subject is backlit and will remain in shadow. Try posing your subject in a way that the silhouette is not just a black blob, such as a sideways profile or a specific dramatic pose.
8. Crazy Bokeh with Tin Foil $16.00
What you need
Instructions
You’ll likely already have tin foil on hand and this won't cost you anything! Break off long pieces of foil, ball them up and then flatten. Don’t ball them too tight. Just crinkle them a bit and then flatten back out. Tape the pieces together on the wall you plan on using for your background.
Setting the scene
Light the background with one speedlight. Experiment with different colored gels on the background until you find the look you want. Make note that the stronger your flash power on the background speedlight the less likely you will see the color. The color from the gels will be darker and more noticeable the weaker your flash power.
Have your model stand 5-10 feet from the wall and light with an off camera flash in a modifier, such as this strip box used in this example.
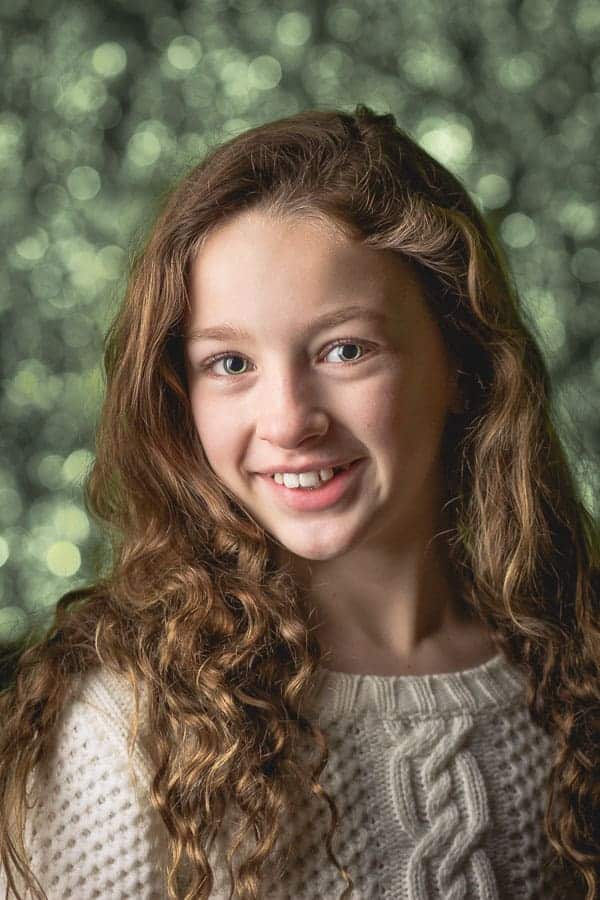
Using a longer focal length and wide aperture will cause the background to be out of focus, creating the nice bokeh balls.
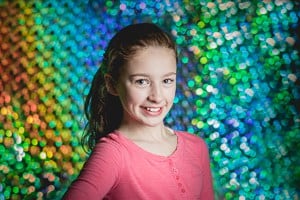
BONUS Quick cheat: if you want something more like this rainbow effect, with less set up time, skip the tin foil and buy one of these holographic silver foam boards. With the same lighting set up described above you can achieve a similar look. The colors are so crazy maybe it would work for a colorful disco themed shoot.
9. Light Curtain Bokeh $45.00
What you need
- Black backdrop $25.99
- Light curtain $18.89
Instructions
Hang your black backdrop. Hang your light curtain in front of your black backdrop.
Setting the Scene
Position your model as far away from your backdrop as you can get away with. Being indoors you might not have a lot of room. 5-10 feet will work perfectly. By having your subject away from the backdrop, the model will be in focus and the lights will be out of focus, causing nice bokeh. Light your model with an off camera speedlight and modifier. A strip box found here was used for this example. *If you are having trouble focusing on your model because you are using a speedlight and your ambient light is too dark, try using a flashlight (or flash on your phone) to light your model just enough to lock in focus, then put your flashlight down and shoot.
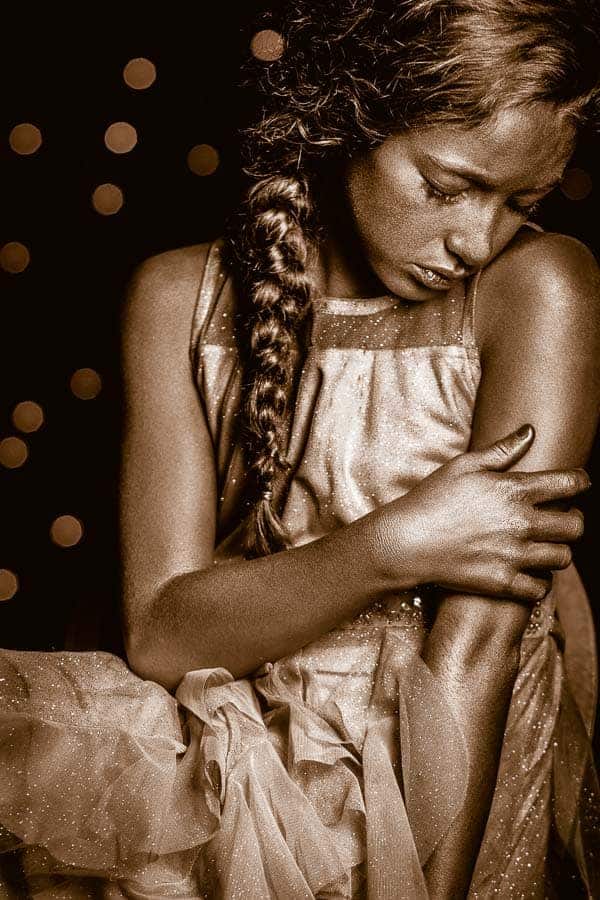
10. Photoshop $0-$10.00
Finally, utilize Photoshop! Don't have Photoshop? Give Creative Cloud a try for only $10 a month. Worth every penny. If you're not sure you want that kind of investment, sign up for a 30 day free trial to see if it’s right for you.
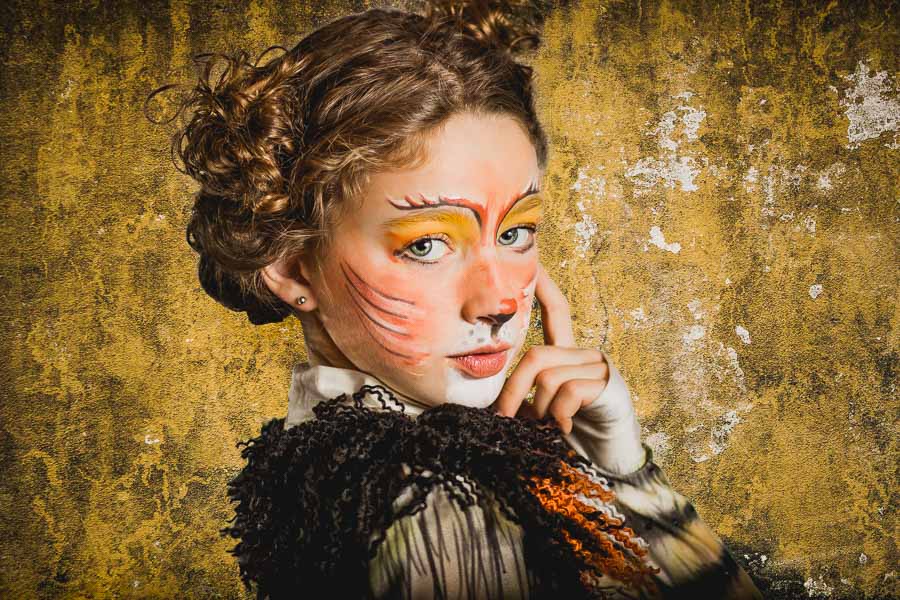
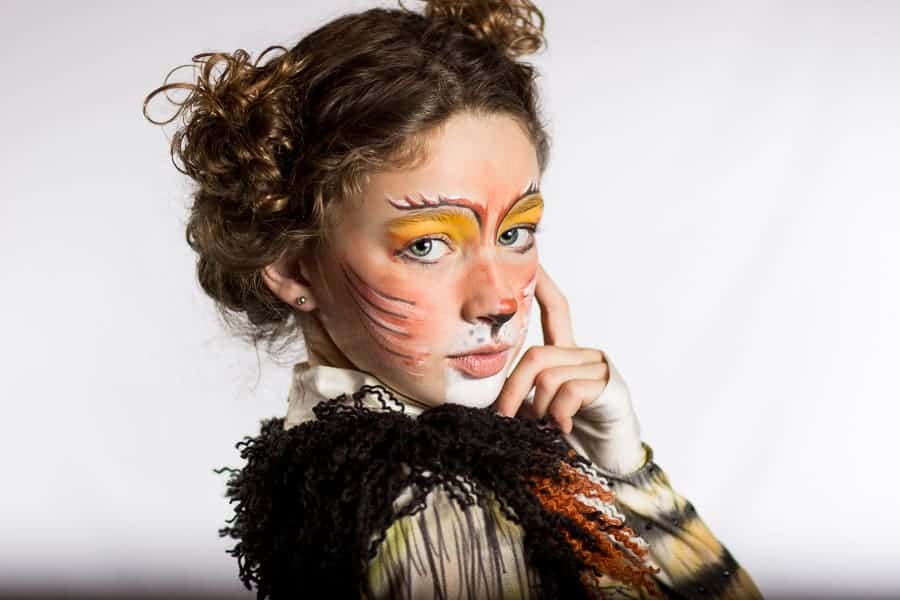
Nick Page has a great and easy to follow tutorial on how to add a textured background to portraits. Find that tutorial here. You can take a portrait with a simple solid color background and add texture for an entirely different look. This can take a good portrait and make it into something epic!
The possibilities of DIY backdrops are endless. Spend a few minutes on Pinterest and get inspired. What are some of your favorite DIY backdrops? Share some of your tips in the comments below or hashtag your pictures on Instagram with #diyportraitbackdrop.

Awesome article Erika. I don’t do portraits so I don’t have any backdrops, but I recently had to take photos of my niece before a dance and these ideas would have been awesome!
Some excellent ideas here, Erika. I can’t wait to try the tinfoil one.
Erica, these are fantastic!!! I especially loved the lights in front of the black backdrop. I bought 5 tiny strings of LED lights off Amazon quite a while ago, and I crinkle them up in the background for ring shots, cufflinks, etc. Having done that for quite a while, I never thought to buy a light curtain… Will be getting one very soon – THANKS!!!
Thanks Mark. One of the negative reviews on the lift curtain on Amazon was it wasn’t enough but I thought it was plenty. It was really long and bigger than expected.
Erika – I’m trying to immitate the bokeh hearts and am having a devil of a time. Looked online for a few how tos. Most of them were for props and suggest using a prime 50. I tried this, and while I was able to get the boken the picture looks terrible as you have a close up using a 50 (nice distortions). I was wondering what lens you used for yours? Thanks!
Hi Andrew, sorry you had trouble with the bokeh hearts. It is challenging at first to get the right focal length and distance from the subject to background and the camera to subject. My subject was standing far away from the background, 10-15 feet. I was using a 35 prime, shot wide open at f/2 and was close to my subject to get her in focus. What lens where you trying? What were your camera settings?
I often design backdrop for but people cost big investment. Your way of doing it is simple and cost effective. Thank you for sharing