I love looking at other people’s photos, and one of my favorite things to do is see the lighting diagram. It’s amazing how complicated some of these setups are. There might be two lights on the background, two on the front of the subject, and another for a hair light. Then, there might be all types of modifiers like grids, gels, softboxes, and a beauty dish. Of course, there are light stands to hold it all up.
8 Ways to Create Portraits with Only 1 Flash
Now, these photos are awesome, and I’m sure they require all of that equipment, but that’s just too much for the average photographer. Buying all that gear could cost thousands of dollars and take an hour to set up. Most photographers don’t want to spend that much time or money. Luckily, if you’re wanting to use flash in your photography, there’s a lot that can be done with a simple one light setup. Here are 8 Ways to Create Portraits with 1 Flash.
Equipment Needed
I don’t want to spend a ton of time talking about the equipment needed. There are tons of flash or continuous light options out there. I tend to use Flashpoint products from Adorama like the EVOLV 200, XPLOR 600, and Zoom Li-on R2. I use different power lights for different situations, so you might need a regular flash and then a strobe. You’ll also need something to hold the flash. You could possibly hold it yourself for some of these lighting setups, but there are some that just aren’t possible. You’ll need a light stand or a nice friend to hold it for you. Last, you can just use the flash as is, but you’ll probably want some modifiers to control or alter the light. I really love MagMod products and the Westcott Rapid Box products for their speed and portability.
Other Light Sources
One thing to remember before we start talking about using one flash is that you can still use other available light sources. You could always put the sun behind the subject for a hair or kicker light. Also, you can always use the available light where you are like ceiling lights or a lamp. Just be aware that the color of these lights might be very different from your flash.
On-camera
Most photographers will start using a flash on-camera. This requires less equipment, only a flash, and can be very useful in certain situations.
1. Direct Flash
I’ve personally never liked the look of direct flash, but I still see people using it. When you aim the flash directly at the subject, it can create redeye, is usually harsh looking, and looks like a tunnel??? You could use it for fill flash. In that situation, make sure your exposure is already set in camera, and then use the flash in a lower power setting to just add enough light to open up some shadows.
2. Bounce Flash
Bounce Flash is another option for on-camera flash. Basically, you turn the head of the flash up, to the side, or even backward. This way, the light doesn't go directly to the subject and instead, bounces off walls, ceilings, or even people and then travels back to the subject. When you bounce the light, it spreads out and lights over a larger area and usually looks softer than direct flash.
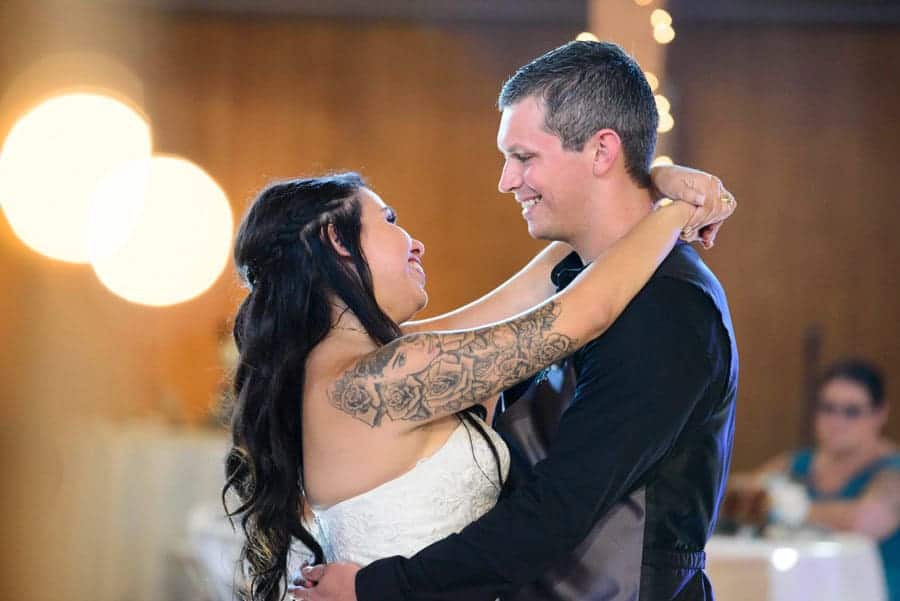
There are a few issues with bounce flash. One, you have to have a flash that can swivel. That’s usually not a problem because almost all flashes have that ability. Two, bounce flash requires a lot more power than direct flash. Depending on the distance the light is traveling and what it bounces off of (I hate black ceilings!!!), you might be firing your flash at full power or close to it every time. Third, what do you do if there’s not much to bounce off? This can be tricky, but you could always bring a reflector with you and bounce it off that. Another option is a fill card. That’s the white card you can pull out of the top of the flash. That will kick some light forward toward the subject and background.
With bounce flash, try out aiming the flash in different directions. You can get some extremely different results depending on where it’s aimed and what the light is hitting.
Off camera
I use bounce flash mainly for convenience. When I’m running around at wedding or event and getting general coverage, that’s what I use. When I’m doing portraits and wanting to do something a little different, I go to off-camera flash.
Off-camera flash requires more than on-camera flash. You have to have a way for the camera to communicate with the flash and something to hold the flash. Some cameras can communicate directly with the flash, but I always use a transmitter for faster adjustments and better reliability. To hold the flash, I have a few different sized light stands and tilting brackets.
3. Fill flash
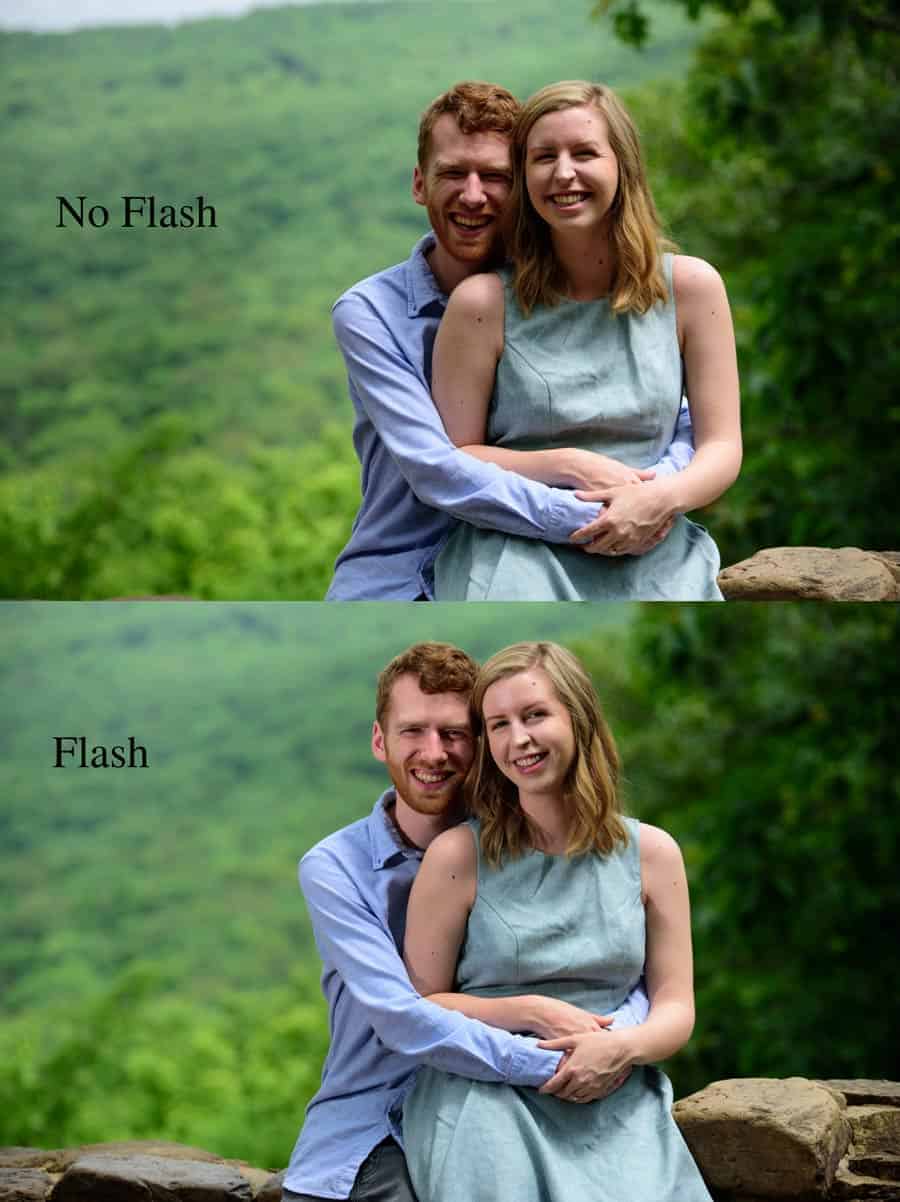
Similarly to on-camera flash, you can use off-camera flash to fill in the shadows. In some situations, I’ve had to place my subjects in a certain position where the sun was creating shadows. I would then use the flash on a lower setting to open up the shadows. I prefer off-camera flash in these situations because I can move the flash around instead of having to have the flash straight on like on-camera flash.
4. Hair Light
Photographers love shooting during the golden hour because of the light it creates, but what do you do if you miss that window or it’s cloudy? You can use a flash to create a strong backlight and even make it have that orange glow.
Put the light behind the subject at a 45-degree angle where it’s just hitting the hair and the edge of the subject. Watch to make sure the light isn’t wrapping around too much and lighting the front. Adjust the power of the light till you get the look you like. From there, if you want a warmer light, you can add a single or multiple CTO gels.
5. Main light
The most common use of off-camera flash is using it as the main light. The fun part of this is you can get a lot of different looks depending on where you put the light, the type of modifier, and the amount of ambient light.
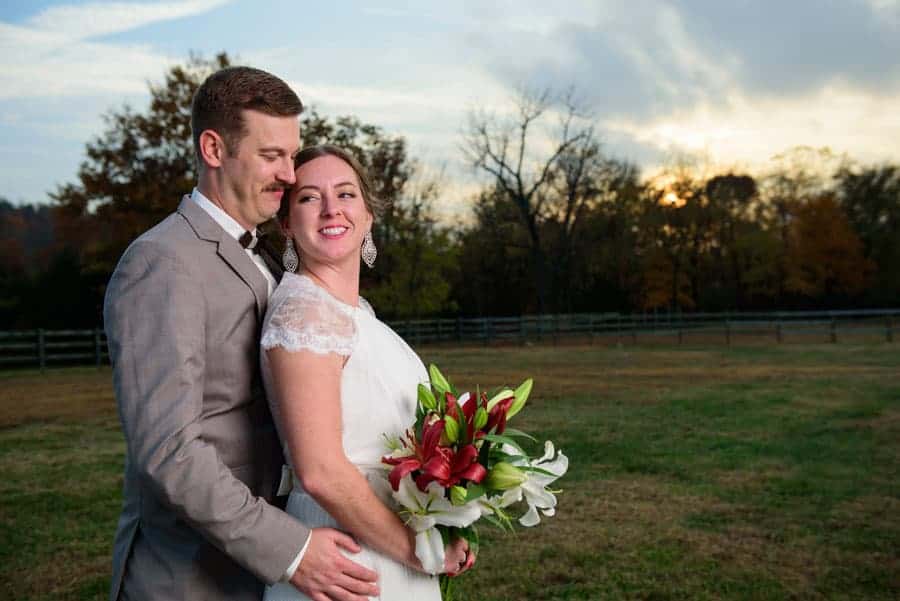
If you’re just starting out, I’d suggest using your one flash to light the front of your subject. In most cases, if you put the light at a 45-degree angle to the subject, it will look nice. I use this quite often outside with the sun behind them. I then have to put the flash at a relatively high power to match the exposure on the background.
6. Main Light with Grid
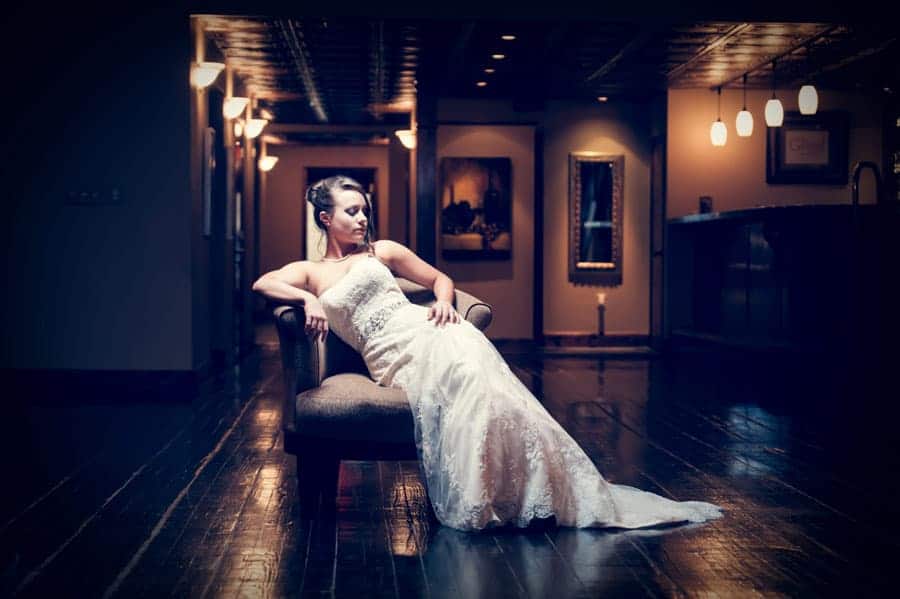
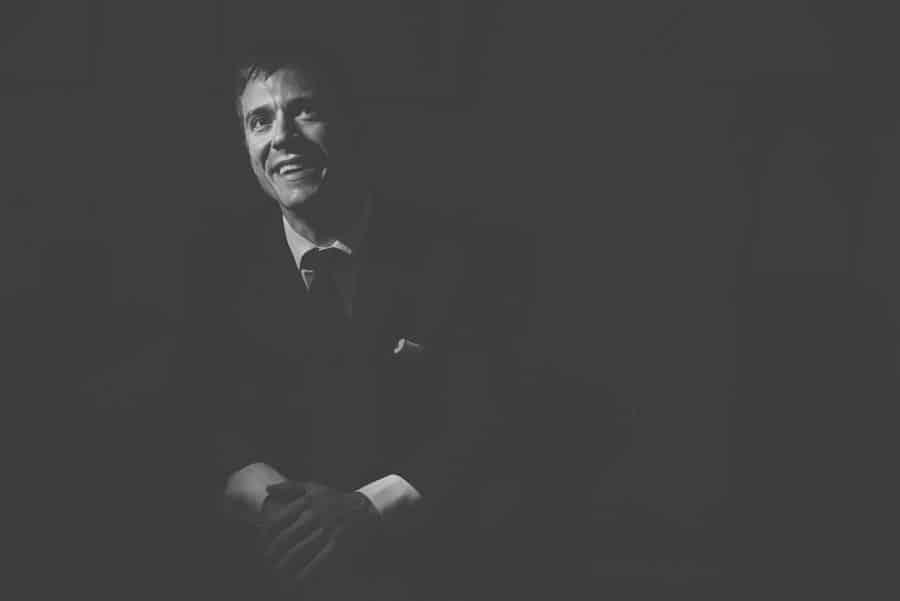
Another fun trick is to use this light to make something moody. First, set your exposure so there is little to no ambient light (the photo is black without the flash). Next, put a grid on the flash to keep it from spreading everywhere. Now, put the flash at the 45-degree angle. If you only want a small part lit, move it closer to the subject. If you want more, pull the flash further away.
7. Over the Subject
If you like this spotlight effect, you can also do it by putting the light over the subject. This is a bit trickier because you’ll either have to have someone hold it above them or bring a boom arm. I’ve done it both ways. The flash can either be straight over them or a little in front and aiming back at them. You might also want to have the subject to look up, so the light doesn’t create shadows in the eyes. This takes a little bit of effort to set up, but I really love this look.
8. Behind the Subject
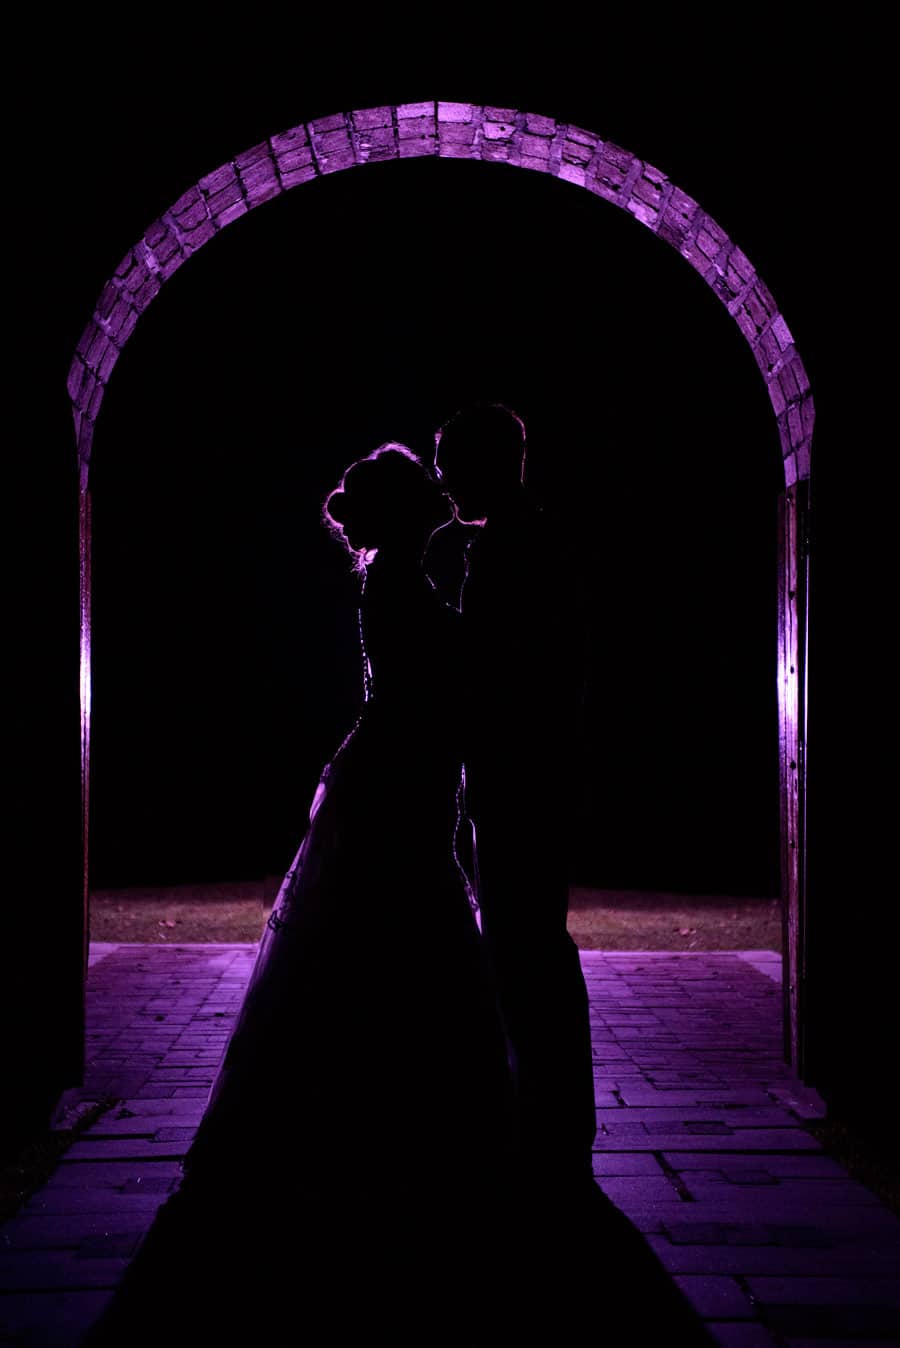
In the past two to three years, I’ve started doing more portraits at night. The fun thing about this is there isn't’ much ambient light, so the flash is really going to stick out. One very easy way to create something different with one flash is to put the flash behind them. I’ve used this one flash technique in three different ways. One, it’s aimed at a wall behind them, so the light hits the wall and then bounces back towards them. I do this usually to create a silhouette but it could also be to make an interesting pattern. Two, I aim the flash at them. This will also create a silhouette look. Three, I aim the flash at them, but I have a surface nearby to bounce the light back onto the front of them. This turns your one light really into two.
Conclusion
Flash can be intimidating, but once you get the hang of a single flash, you can start adding in more to create even better photos. Before you know it, you might be using three or even four flashes. Feel free to share any images with the lighting diagrams in the comments. I’d love to see what everyone is creating.

This article gives me so much information, looking forward to read more…
Sir Nice tips for clicking portrait images both in light and dark also i would like to know about the camera you used.
Very intersting and useful information in your website. I like this information and share to anothers.