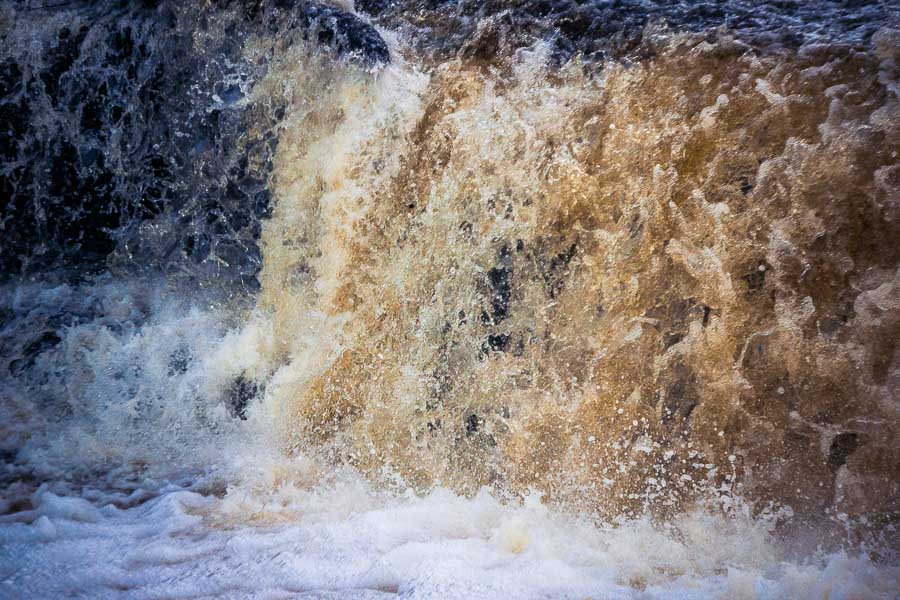
You got in the car at 4 A.M., drove 2 hours, and shot that amazing sunrise. It's a portfolio piece for sure. Now, what do you do? Or, you are about to go to that nearby state park that you find yourself at a few times a month, and you've shot every vista in site half a dozen times. Should you even bother going? What could you possibly do that you haven't done before? Maybe you're just bored, or in a rut, or tired of imitating everyone else's work.
In the course of this article, I will give you some unconventional landscape photography techniques. These are techniques that you can call on and practice when you're just not in the mood to set up that tripod, grab that wide angle lens, set your aperture to f/16, and capture the traditional landscape. Some of these are more impressionistic than others. I happen to enjoy photo impressionism and the techniques that come with that genre. Regardless of how you feel about trying something different, I can tell you that getting out of your standard photography routine can shake some cobwebs loose that will help you do your primary style better.
Taking some time to focus less on the traditional landscape and more on color, shape, and balance is great for your work. Spending time seeing your surroundings for what they really are will only deepen your appreciation of nature and of the gifts that nature photography can bring. I hope you will try some of these techniques and let me know how they go for you in the comments.
Capture Detail
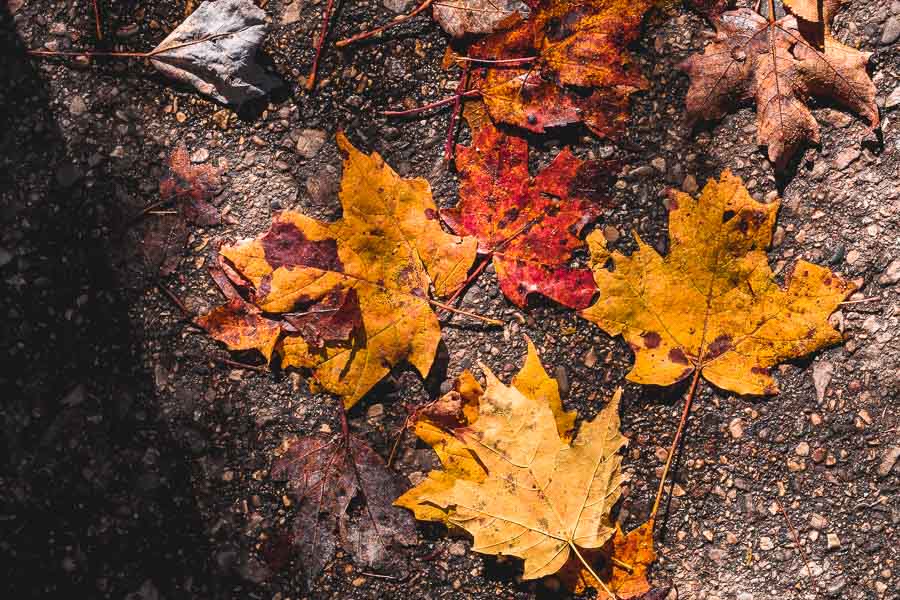
Give that ultra-wide angle lens a break! It's worked hard enough! The wide angle is our default as landscape photographers, but when we're trying to change it up, it can be a good idea to grab a longer lens and focus on capturing some detail.
There is so much intricacy in our world. From falling water, to leaves, to architectural detail, to plant and animal life, everything we see is detail upon detail. Sometimes, the most compelling photo is not the grand vista, but the little element of the scene that no one noticed. Real inspiration can come from finding and sharing the small things in a place.
You should really consider the use of shutter speed and aperture when you are photographing detail. Do you want to freeze or blur motion? Do you want to highlight one feature and let your background blur out, or should everything be in sharp focus? These questions are important to answer in any photography situation, but when conveying landscape detail you can make choices to show the detail in a way which the human eye does not perceive. Freezing the motion of water with a fast shutter speed or isolating one flower in a field of wildflowers with a wide aperture would be examples of settings choices that may break from your usual approach.
Finally, consider creative angles when showing detail. My example image was taken from directly overhead. This can be an unflattering angle, but in this instance it makes for a nice little scene of fallen leaves. If you're not sure what angle to try, just try a bunch and see what you like!
Multiple Exposure
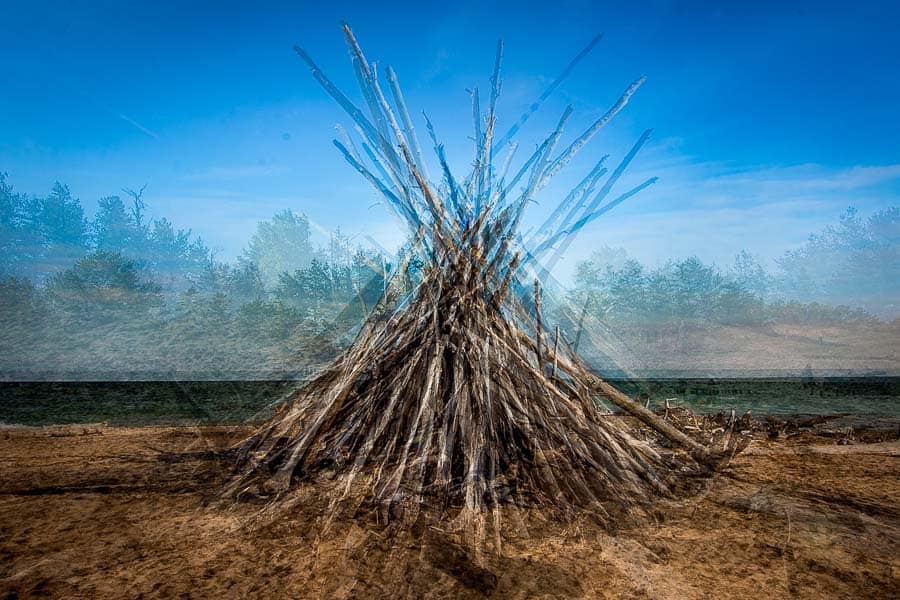
Multiple exposure is a classic photography technique that goes back to the film days. With film, the idea is to expose the frame to one scene, then, without advancing the film, expose it again to another. When done twice, this is called double exposure, but you can do it more than twice.
In the old days, this was done in camera with deliberate underexposure. As a general rule, you would underexpose each shot by 50% if you were shooting twice, by 67% if you were shooting three times, etc. This can be helpful to consider today. If you are combining frames, what is going to get blown out or close to blown out? Could you use the elements of one shot to frame a subject in another? Could you shoot an interesting pattern over the top of a portrait? These are the things to consider when doing multiple exposure.
Multiple exposure can be done in camera on some cameras, but I usually do it in Photoshop. My standard workflow is to do my basic edits in Lightroom, then to open the photos as layers in Photoshop. From there, it's a simple process of adjusting the opacity on the images. A good place to start is to put the photos bottom to top from what you want to be more prominent to what you want to be least prominent, and then reduce the opacity of each photo as you move up the stack by half. A four photo stack would have the bottom at 100% opacity, second from bottom at 50% opacity, second from top at 25% opacity, and top at 13% opacity. This is just a starting point; once you dial in these values you should play around with them to get an effect that you like.
The example photo demonstrates one of my favorite multiple exposure techniques. In this technique, you shoot all around an item that looks roughly the same from all angles. Try to keep it roughly the same size in the frame, and you'll want to place in the center to get the effect right. You can always crop later if you want the object to be off center. Applying the multiple exposure effect to this scenario produces a piece of work with a clearly identifiable object, yet it still has that otherworldly impressionistic quality.
Flip a Reflection
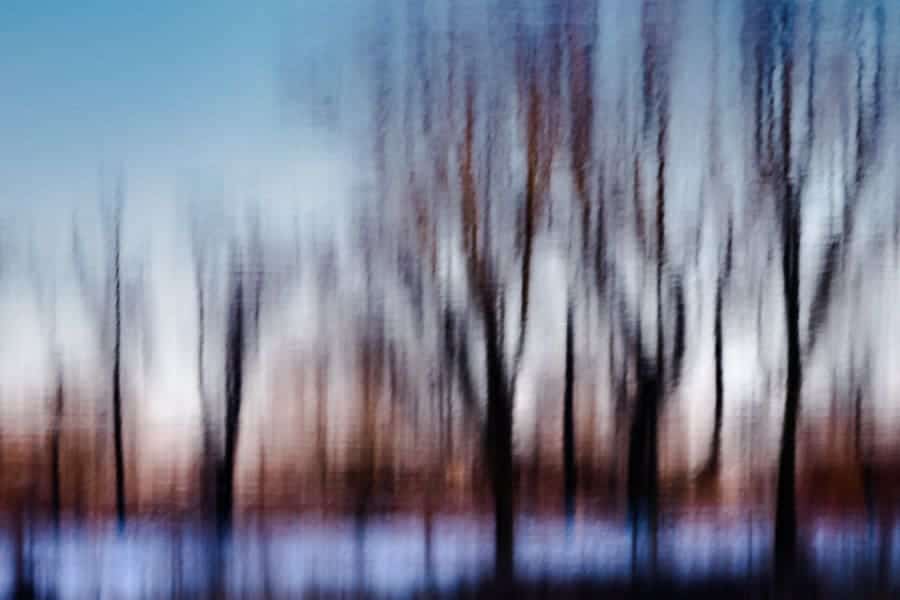
Many of us spend a lot of time around water, and reflections can be absolutely captivating. One technique that I've taken to is photographing those reflections, and then flipping them.
Be sure to find a reflection that has enough interesting elements. If done properly, you will show a world a lot like the real one, but just distorted enough to be interesting. You should also pay attention to what is on the surface of the water. You can make a successful image if there is nothing of significance on the water, or if you have a lot of items, such as lily pads. What doesn't look as good is when you have some but not many items of the surface of the water. It gives away the trick without creating the cool, almost multiple exposure type effect that lots of surface items can produce.
Once you have the photo on your computer, simply flip it. In Lightroom, this is done by right clicking on the image in the timeline, then selecting “Rotate Left” or “Rotate Right.” It doesn't matter which one you choose, just select the same one twice to get your image all the way around.
I find that I can be a bit heavier handed when it comes to editing these. Saturation that looks tacky in a realistic photo comes through a bit better in an impressionistic photo. You should still use a relatively careful touch, as it is always easy to go overboard with color edits, but don't be afraid to make strong choices.
Intentional Camera Movement
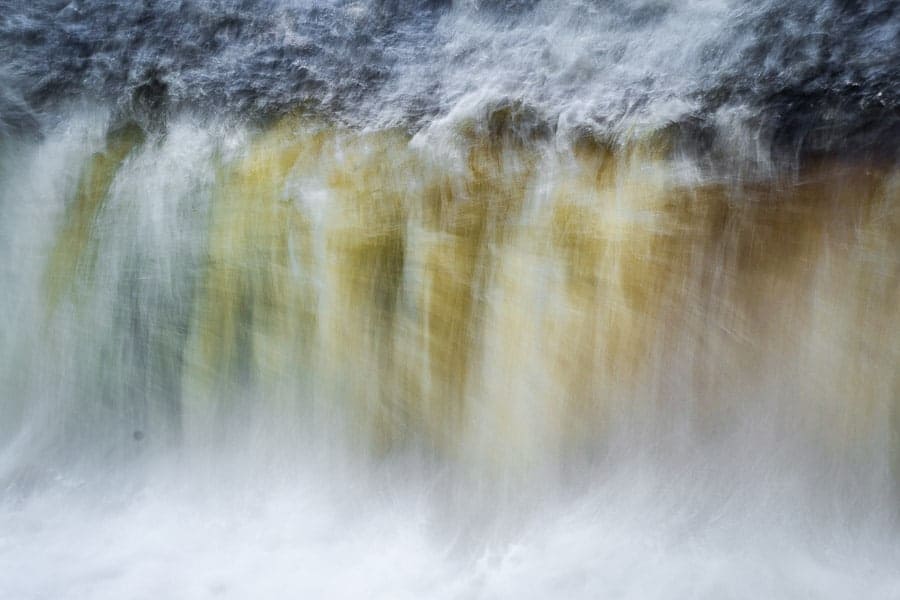
Here's my confession: I love intentional camera movement because it means I don't have to fuss with a tripod!
OK, I'm at least partially kidding, but it is nice to not have to worry about avoiding camera shake. There are many more reasons to use ICM though, beyond my laziness. Moving your camera can produce dreamy streaks of light that feel surreal and special. When I use ICM, I feel like a painter.
There are two tricks to ICM: picking the right shutter speed and moving your camera in the right way.
When it comes to the right speed, it depends on what you're shooting and how bright your environment, but for my typical ICM I start at around 1/5 of a second. This is enough time to show motion, but not so much that it all blurs out into nothing. Resist the temptation to use a significantly longer shutter speed as you'll blur everything until it's no longer discernible.
Choosing the motion of the camera is the harder part. If I'm photographing anything that is already moving, I will move the camera to follow it, much like panning. The same goes for anything with obvious lines; tall grasses and trees are begging for you to move your camera vertically along their lines to the sky. Other scenarios could call for more complex motion. You could let the camera lead your horizontally toward a waterfall, and then up the waterfall. Experimentation is a good thing in this environment. Let the colors and textures of your surroundings inspire more abstract work.
It is helpful if you begin your motion before the shutter is open, and wait to stop until after the shutter is closed. Another movement you can use is the zoom-burst; rather than moving with the camera you open your shutter as you zoom in. This can produce an effect that is quite dramatic.
Stack Clouds Like Stars
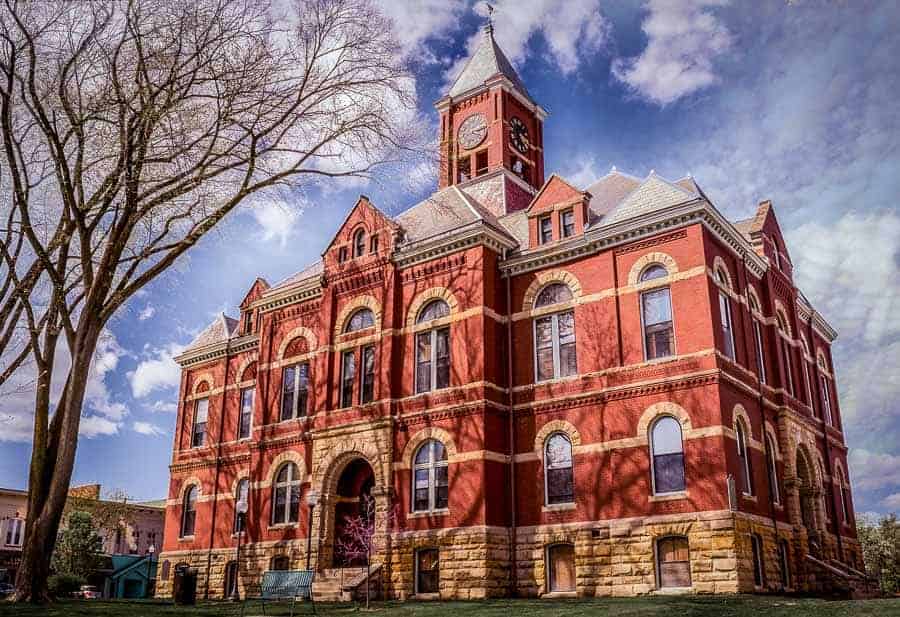
I've saved the most complex technique for last. If you've ever shot astrophotography, you have probably tried to take a shot with star trails. Star trails happen when you leave your shutter open so long that the stars move in the sky due to the rotation of the earth. For a variety of reasons, sometimes photographers will use a technique called star stacking to combine many shots and produce a single star trails image. The same technique can be used to make interesting daytime landscape shots, especially if there is cloud motion.
The basic technique is to bring all your images into Photoshop, align them, and blend them. To open a stack of photos in Photoshop, you can select them in Lightroom, right click, and go to “Edit in,” “Open as layers in Photoshop.” If I'm working with a lot of images, I find that it's easier to export my Lightroom images to TIFF after doing basic edits. I will then open them as a stack in Photoshop by selecting “File, Scripts, Load Files into Stack.”
Once all of the images are in Photoshop, select all the layers and go to “Edit, Auto Align.” Follow the prompts to align the image. After this is done, it's a good idea to check and make sure auto align worked by making all the layers invisible, and then making them visible one at a time from bottom to top, watching for the layers to be out of alignment. If auto align didn't work perfectly, you can move that layer manually.
To stack in the style of star trails, each layer above the bottom layer needs to be set to the lighten blend mode. This can be done one layer at a time, or you can create a layer style for the lighten blend mode that can be applied to multiple layers at once.
Using lighten blend mode on a daytime photo sometimes produces strange results, so I will consider using layer masks so that my sky is stacked but I have a regular foreground or area below the horizon. The example image is one such case. I also used blend if and some layer masking to bring some blue back into the sky and combine the look of the stacked sky (see the repeating clouds, especially on the right) with a more natural sky. It is a subtle and interesting technique.
Go, try something new
I hope that one or more of these five techniques inspires you to try something new. Don't let the photography rut get to you, try something from this list, or some other technique that you haven't tried before. Maybe some of this will come into your style, or maybe it won't, but either way, you will grow as a photographer.
Do let me know in the comments if you try some of these. Also let me know if you have other unconventional landscape photography techniques that you like; i'd love to try them for myself. Happy shooting!

Would like to try some black and white landscapes and septic shots. Shooting in colour all the time. May get neat results!
I really love black and white photography. I tend to edit them in Silver Efex. Have you ever tried Silver Efex?
Totally right on. For iPhone photographers, Snapseed app now has a double exposure function that is adjustable much as described here!
Snapseed is so powerful. I use it when I teach my Better Smartphone Photography class. Sometimes I wish the Lightroom Mobile UI was more like Snapseed.
I agree with your Capture Detail section. Nature provides a great wealth of beauty on every scale- especially the intimate. While I do sometimes begin a trek with the intent to photograph nature’s intimate landscapes, it is also a marvelous backup for those times when that grand sunrise never appears. Rather than waste that 2 hour commute, I invert my vision and focus on the small. Without disappointment nature provides!
Thanks! Nature has so much to see if we remember to look.